Approving a patch and approving a finished hoodie are two different decisions. A clear design can still sit too close to a zipper, interfere with a pocket or feel unsuitable from inside the garment. For an embroidered patch hoodie, review the patch itself, its position and its attachment as separate parts of the sample approval.
This guide focuses on specifying and reviewing a separately made patch attached to a hoodie. If the design is built directly on the garment with fabric shapes and stitching, start with the applique versus direct embroidery comparison instead. Confirm the construction before using the techniques interchangeably in a purchase brief.
Identify What the Supplier Is Quoting
Ask whether the quoted item is a loose patch, a patch attached to a supplied blank, or a complete custom hoodie. Identify which party supplies the garment and who is responsible for attaching the decoration. An approved loose patch does not demonstrate the finished result on the intended hoodie.
Record the patch artwork revision, finished dimensions, border appearance, backing reference and proposed attachment method. For a mixed graphic, mark which areas are embroidered and which use another decoration process. Avoid describing an entire design as embroidery solely because its outline is stitched.
Turn Placement Into a Repeatable Specification
Show the patch on a drawing of the correct hoodie style, then add dimensions using agreed garment reference points. State whether a distance locates the patch centre, the edge of its fabric base or the outermost stitched border. Include the unit and the garment size used for the reference.
- Zip-front chest: review the hoodie zipped and unzipped. Check the space between the decoration and the zipper, and whether opening the garment changes the intended arrangement.
- Pocket area: confirm that attachment does not close the pocket opening or unintentionally join its layers. Check pocket access on the physical sample.
- Upper back: look at the design with the hood raised and lowered. Decide how much of the patch may be covered during normal wear.
- Sleeve: check the patch with the sleeve relaxed and bent. Record the reference point instead of positioning it from a photograph alone.
A group of patches needs a layout specification as well as individual dimensions. Number the pieces and record their spacing, orientation and intended overlap. Ask whether one patch size is proposed across the size range, then review representative garment sizes before accepting that arrangement.
Use Whole-Garment and Detail Photos for Different Decisions
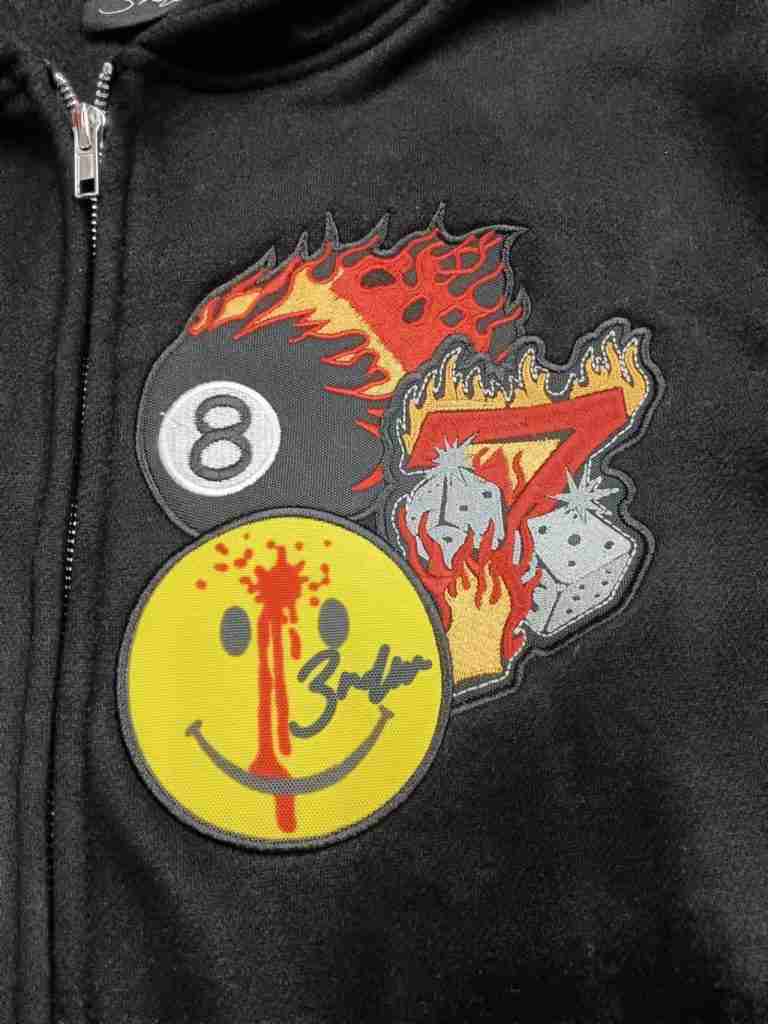
The exterior photographs below provide placement and edge-detail references. They do not establish whether the motifs were separately made patches or decoration built directly on the garment, nor whether sewing, heat application or both secured them. Confirm those details separately before describing the construction in an order.
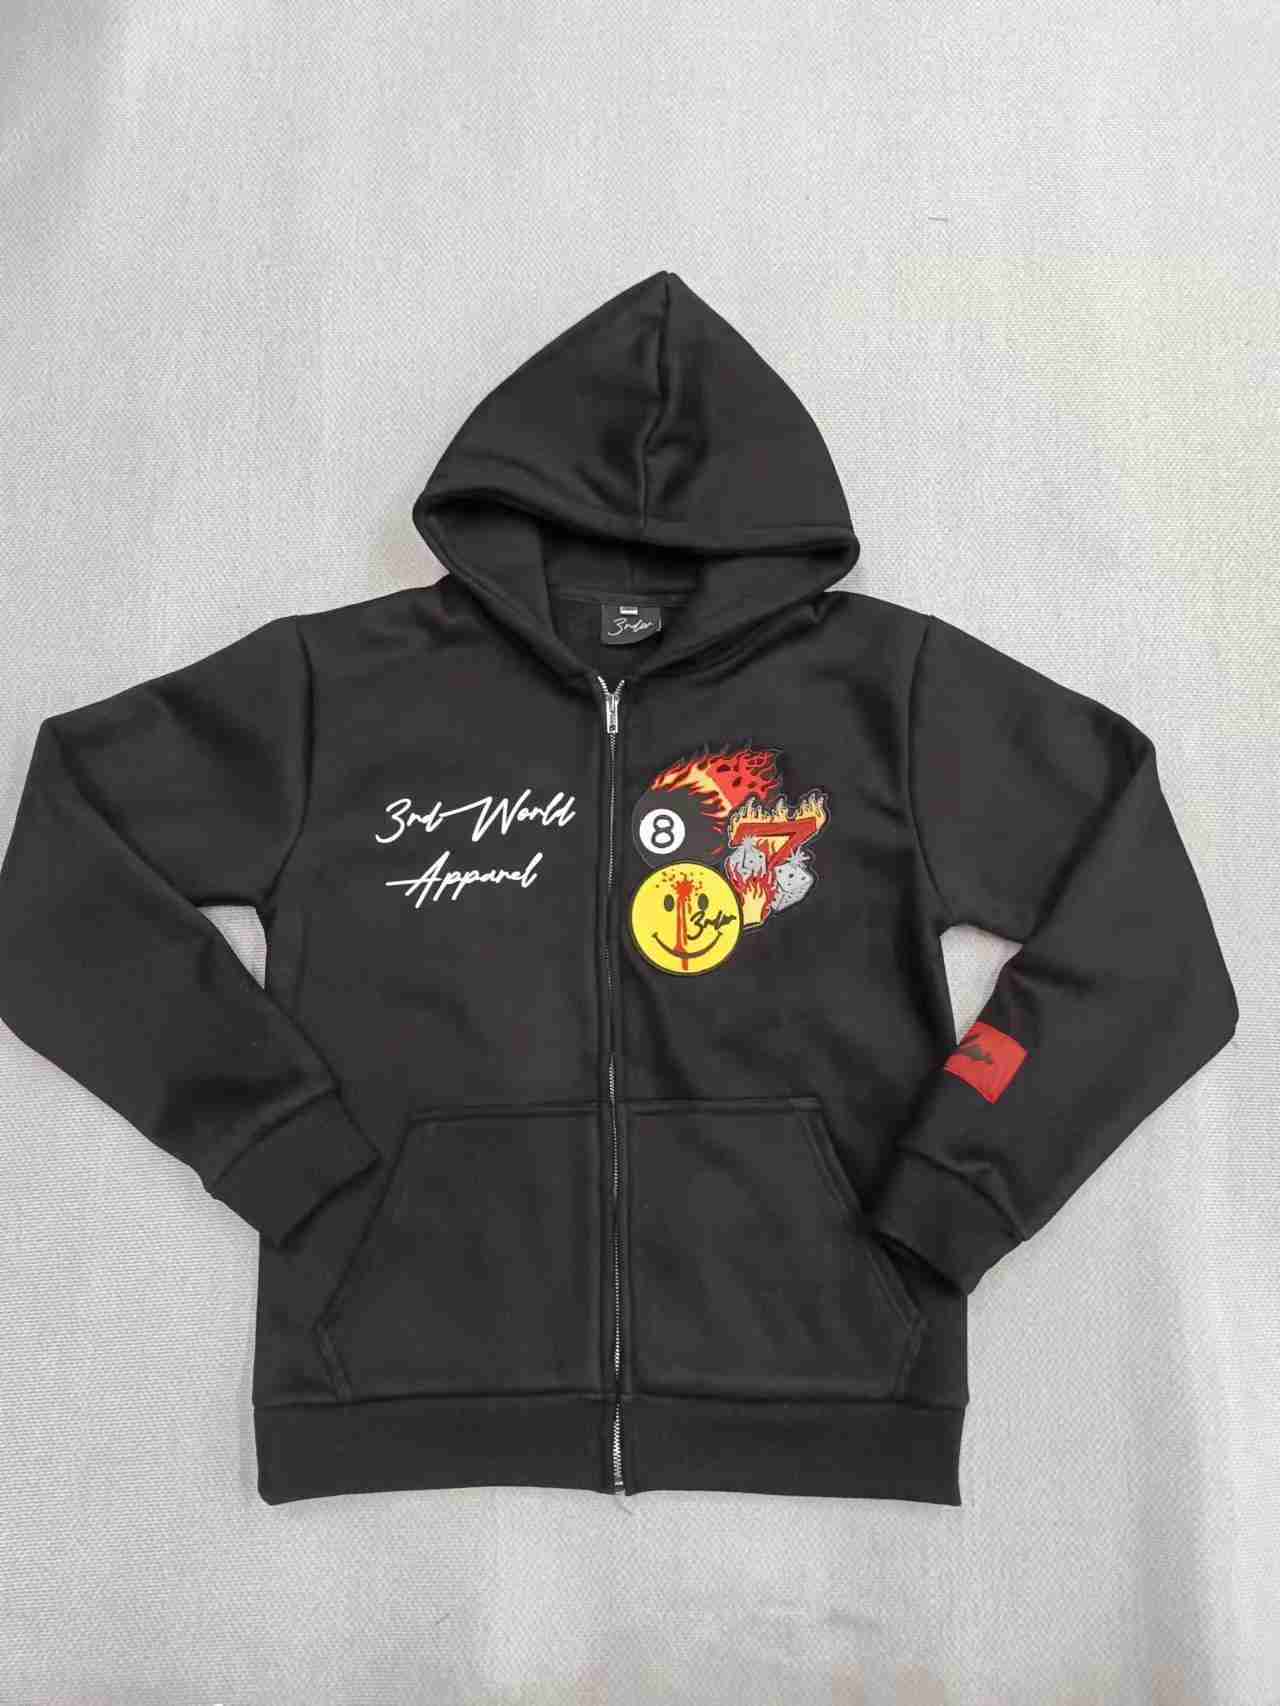
In the whole-garment view, several motifs form one chest grouping beside the centre zipper. A buyer reviewing a similar arrangement should approve the position of the group first, then specify the spacing between its individual pieces. Check how the arrangement reads when the hoodie is worn and opened, not only when laid flat.
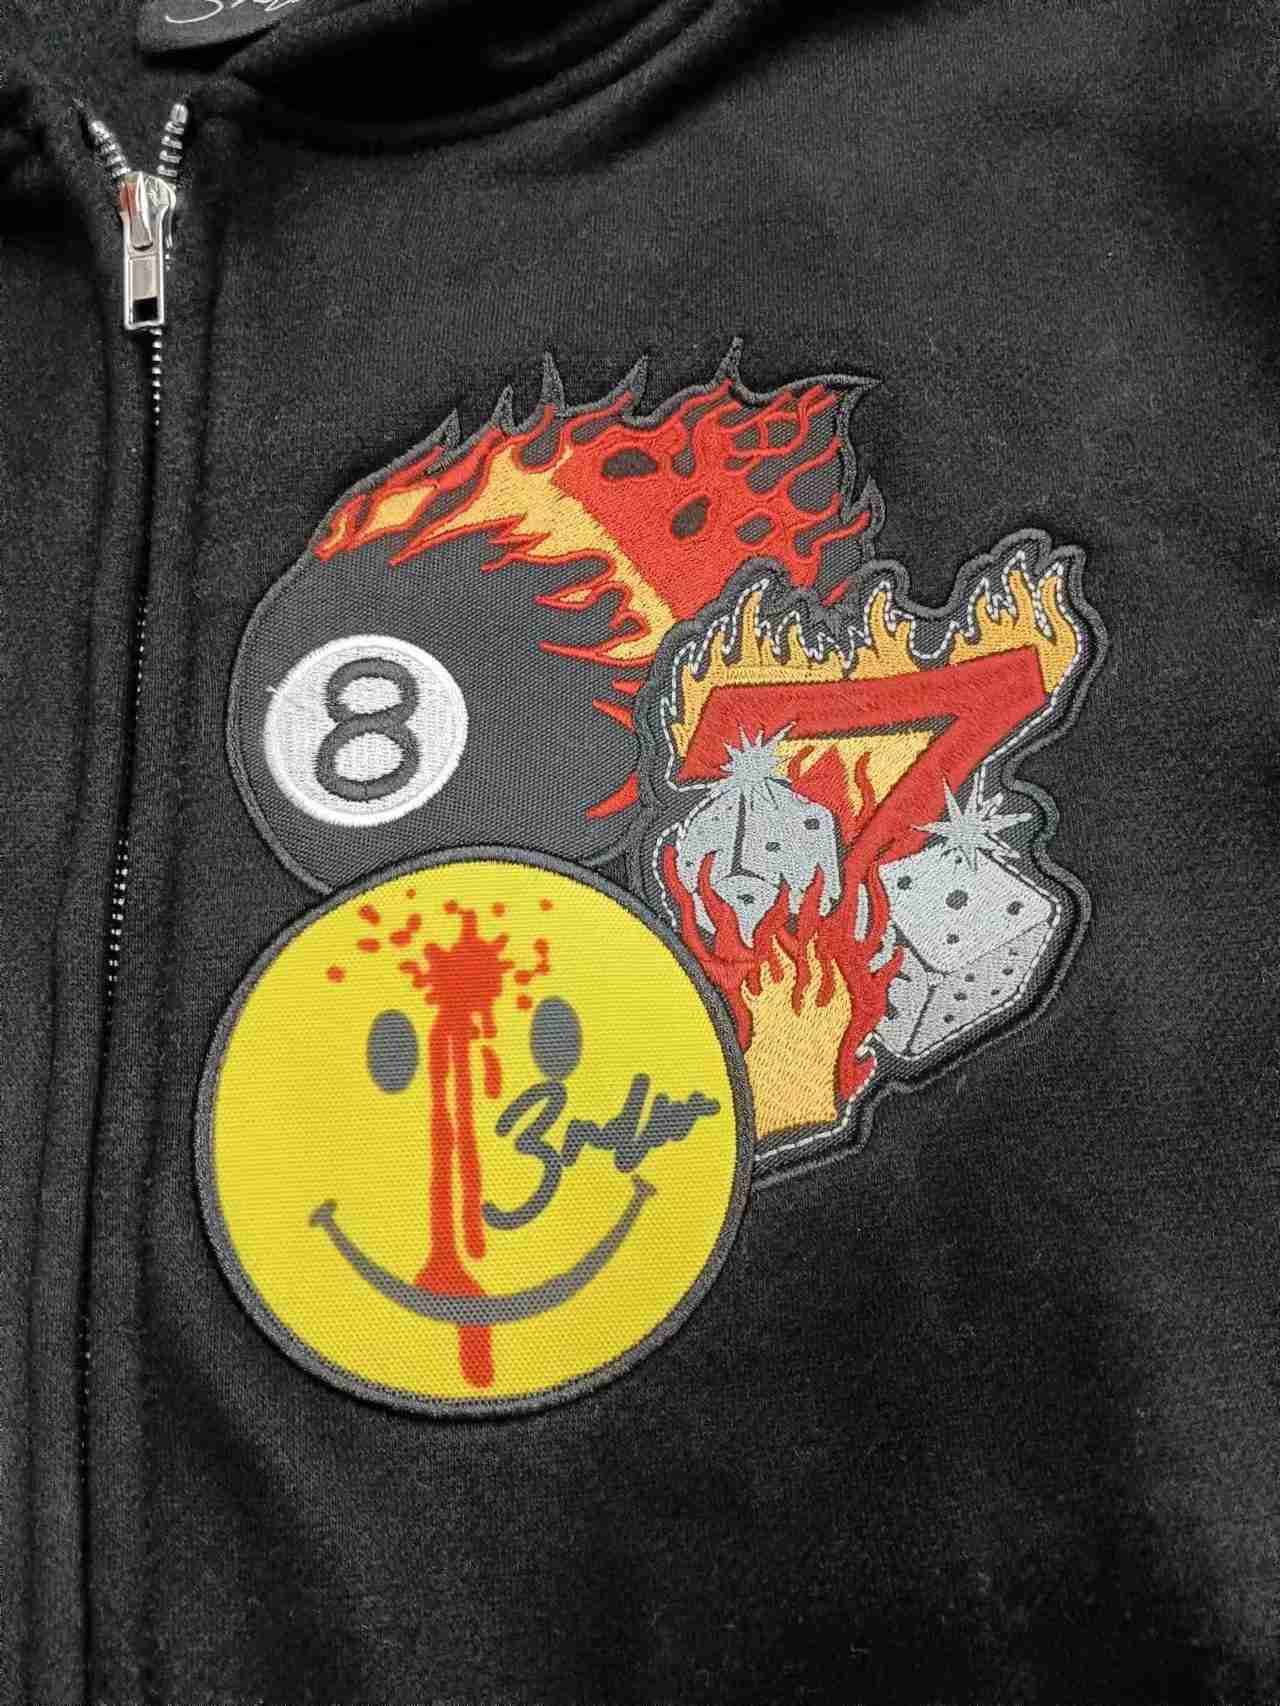
The close-up makes the visible edges easier to discuss, but not every surface has the same appearance. Mark each component in the artwork and ask which decoration process is proposed for it. Do not turn a mixed graphic into an all-embroidery specification without checking.
Separate Border Appearance From Attachment
A stitched-looking border does not, by itself, tell the buyer how the patch is secured to the garment. Ask the supplier to identify the attachment operation and show the relevant sample details. Where sewing is proposed, request the stitch path and inspect the inside of the garment. Where heat application is proposed, request the specific patch system and its application requirements.
For example, STAHLS’ describes heat-applied embroidered patches for fabric separately from pressure-sensitive versions for hard goods. That distinction illustrates why a generic label such as “adhesive backing” is insufficient. It does not establish which product or attachment method was used on an Eking sample.
Do not prescribe a universal temperature, pressing time or stitch setting from a photograph. Have the supplier confirm the selected materials and process, and approve the result on the intended garment. If the method changes after sampling, record the change and decide which checks must be repeated.
Inspect the Garment From Both Sides
Photograph the whole hoodie first, then the patch boundary, narrow points and any overlapping pieces. Lay the garment without stretching it smooth so the review does not conceal the way the surrounding fabric sits.
Turn the hoodie inside out and inspect the area directly behind the patch. Record exposed thread ends, edges, added layers and any surface that will contact the wearer or an underlying shirt. Handle the actual garment when assessing flexibility and comfort; a photograph cannot establish either. Identify questions that still require physical review rather than marking them approved.
Keep Appearance and Care Approval Separate
Agree a care-check procedure and acceptance criteria before testing. Record the sample reference, procedure, date and before-and-after photographs. Review the patch boundary, surrounding garment shape and any changes in appearance against the agreed reference. A new fabric, patch backing or attachment method may require a new evaluation.
Use specific decisions in the approval record: artwork accepted, placement to revise, attachment review pending, or care check not completed. Avoid a general “approved” message when the actual construction or a required test remains unresolved.
Send a Complete Patch-Hoodie Brief
For a project discussion with Eking Clothing, prepare the hoodie reference, patch artwork and dimensions, numbered placement drawing, expected quantity, size breakdown and delivery destination. State the preferred attachment and inside finish as requirements to review, not assumptions about feasibility.
Explore the embroidery service guide for the broader decoration options. When the brief is ready, send your hoodie and patch requirements for review. Ask for written confirmation of the sample scope before treating an illustration or quotation as an approved production specification.