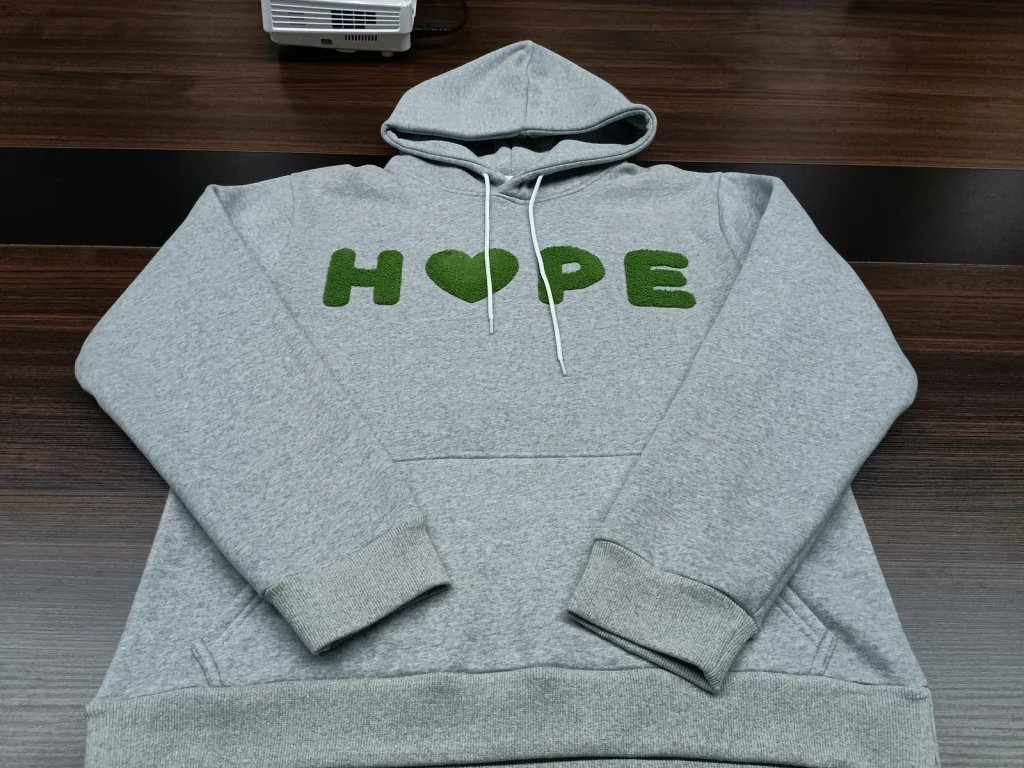
Choose chenille when the design needs a plush, looped surface and bold shapes. Choose conventional machine embroidery when finer lines, smaller lettering or a more compact stitched finish matter. Neither is automatically better: the decision depends on the artwork, garment fabric, placement and approved sample.
Strictly speaking, chenille is itself a form of embroidery. In this guide, “chenille vs embroidery” means comparing a chenille finish with conventional thread-based machine embroidery, not treating them as unrelated processes.
Developing a decorated hoodie or sweatshirt? Send your artwork, finished logo dimensions and garment details to Eking to discuss the sampling requirements.
What gives chenille its textured appearance?
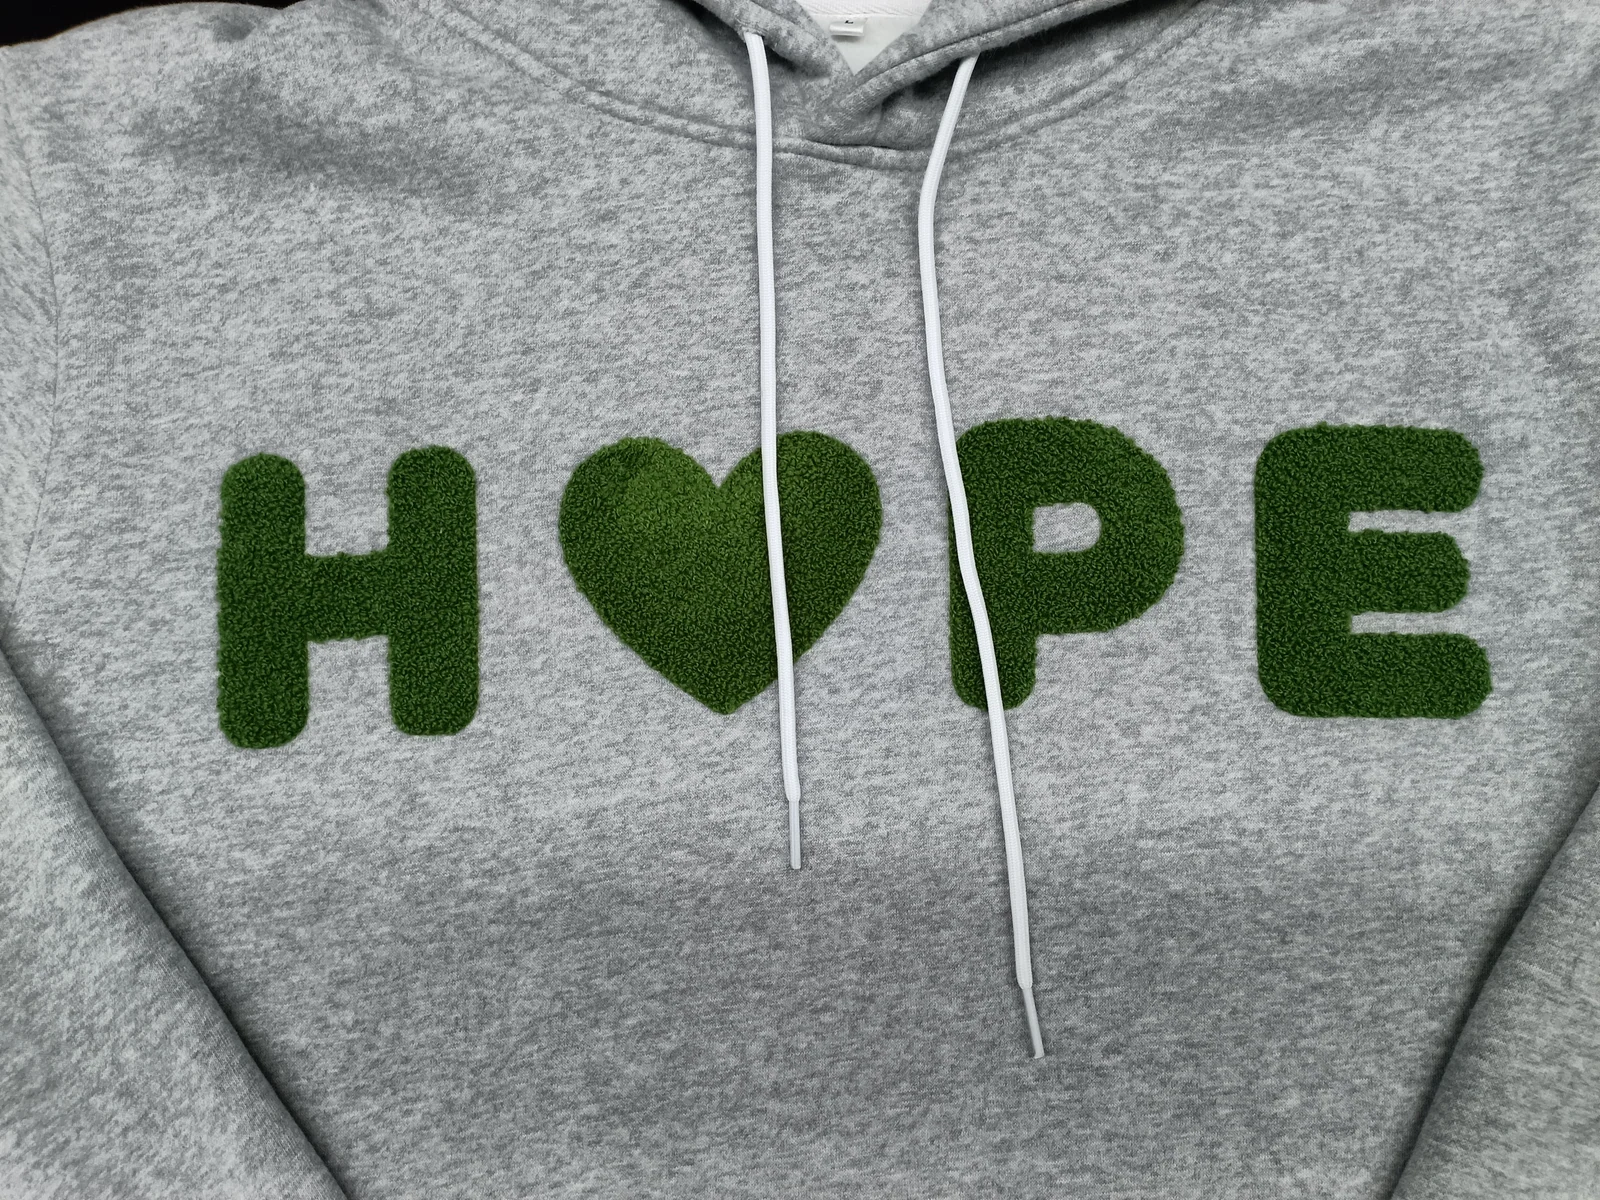
Traditional chenille uses yarn to create a raised, looped surface. Moss stitching forms the recognizable pile, while chain stitching can provide outlines and other details. Wilcom’s chenille stitch documentation explains the different roles of these two stitch types.
The word “chenille” does not, by itself, specify the yarn composition, pile height, backing or attachment method. Those details belong in the sample brief. A plush photograph is not evidence that a design uses a particular fiber or machine setup.
Chenille vs conventional embroidery: the buying decisions
| Decision | Chenille | Conventional machine embroidery |
|---|---|---|
| Surface | Plush, raised yarn texture. | A stitched surface that varies with thread and stitch type. |
| Design direction | Consider for bold letters, emblems and open shapes. | Consider for more detailed marks or smaller lettering, subject to a stitch-out. |
| Small details | Fine gaps and small characters can be difficult to preserve in a thick pile. | More scope for fine detail, but not unlimited reproduction of a digital logo. |
| Construction | Specify whether it is worked on the garment or made as a separate patch. | Also specify direct embroidery versus a separately attached patch. |
| Approval focus | Pile appearance, outlines, gaps, edges and attachment. | Legibility, stitch coverage, outlines, distortion and reverse-side comfort. |
Wilcom’s technical introduction to traditional chenille identifies larger, simpler designs as a suitable direction and describes combining chenille with regular embroidery for additional detail. Treat that as a design starting point, then approve the actual sample.
Do not confuse texture with patch construction
A chenille surface and an applique construction answer different questions. One describes the decoration’s texture; the other involves attaching a separate material or shape. A design can combine them.
If you want a chenille patch, define the base material, visible border, finished outline and attachment method. Ask whether the quoted work includes attaching the patch to the garment. A loose patch price and a fully decorated garment price are not directly comparable. Our hoodie patch placement and attachment guide covers the garment-side checks to include in that brief.
Also confirm whether the proposed effect is traditional chenille, an imitation chenille embroidery effect, or a different raised surface. Do not approve a substitution from a distant photo alone.
Read the artwork at its finished size
Print the logo at the intended physical dimensions before sampling. Review the spaces inside letters, the distance between separate shapes and the thinnest parts of the artwork. Details that look generous on a large monitor may become crowded on a small chest logo.
For a mixed design, identify which areas should have a chenille surface and which should use conventional embroidery. Specify the border and the relationship between adjacent colors. A single instruction such as “make the logo raised” leaves too many decisions open. If tonal shading matters as well as texture, the gradient embroidery guide explains the separate color-sequence approval.
Do not set a universal minimum letter height without knowing the yarn, artwork and equipment. Ask for a physical stitch-out of the smallest detail you need to retain.
Approve the decoration on the intended garment
A separate decoration sample helps review shape and texture, but it cannot show how the finished garment hangs or feels. Check the actual fabric, garment color and intended placement as well.
Knits can respond differently to stitching tension and needle penetration. Wilcom’s fabric-specific embroidery guidance explains why density, underlay and pull compensation need to reflect the material rather than a single preset for every garment.
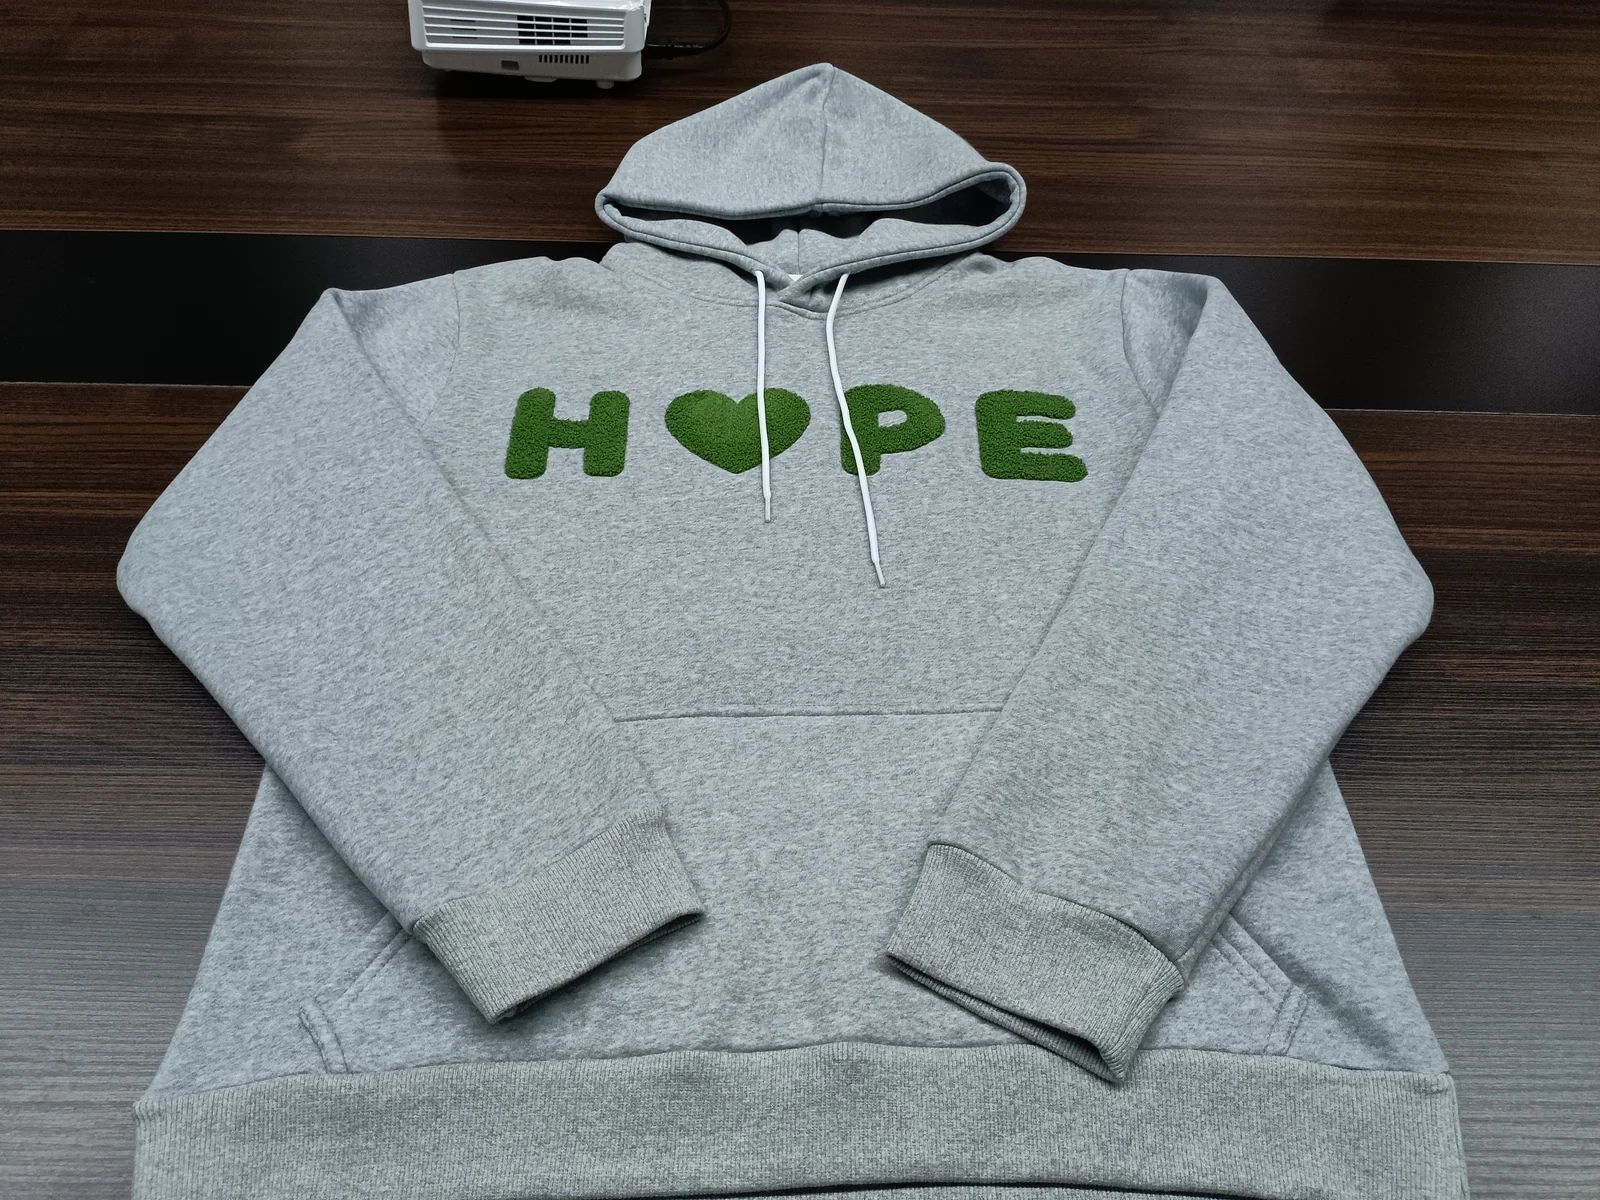
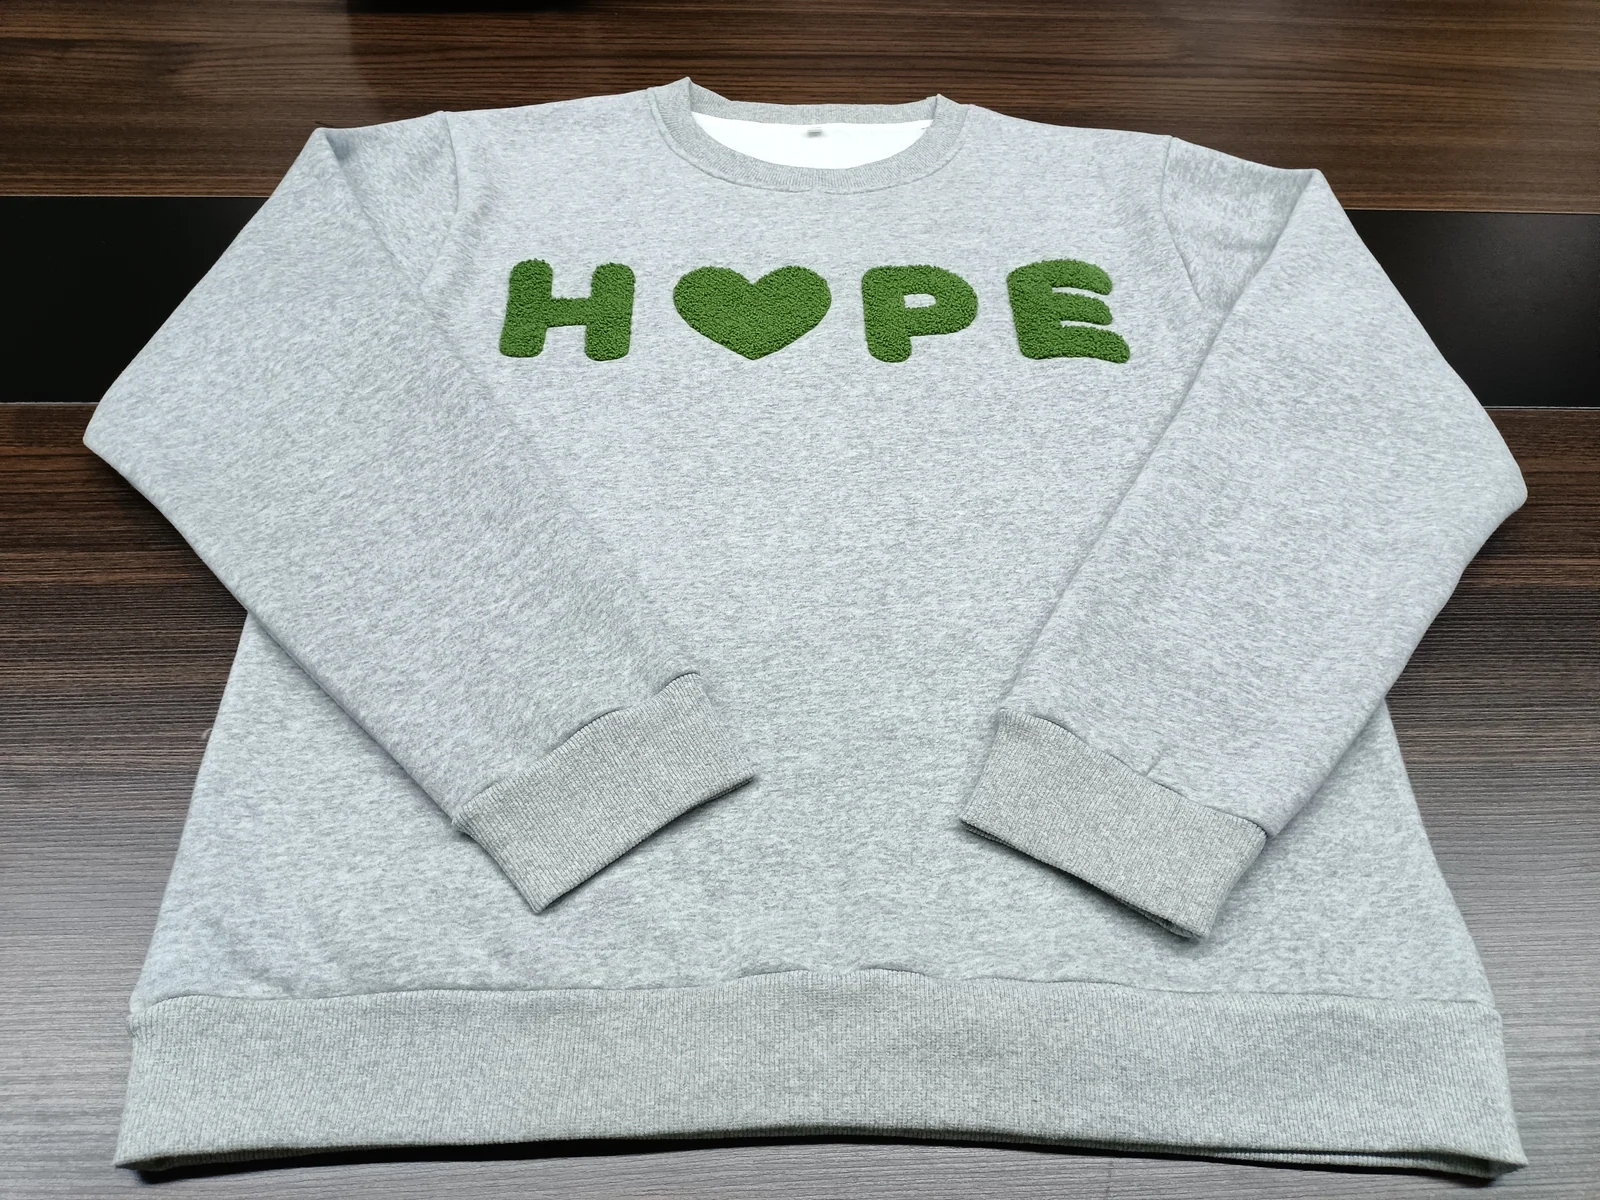
For a hoodie, review the design with the drawcords in their natural position. For a crewneck, check the distance from the neckline. Mark placement from an agreed seam or centerline, not from the edge of a photograph.
Sample approval checklist
- Artwork: spelling, outline, color separation and finished dimensions match the approved revision.
- Surface: pile coverage and appearance match the agreed reference; unintended bare areas or loose loops are identified.
- Edges: borders and corners are consistent with the approved design.
- Garment: the decorated area lies as intended, with no unacceptable puckering or distortion.
- Reverse side: backing, thread ends and contact with the wearer have been reviewed.
- Attachment: a patch is secured using the agreed construction, rather than an assumed method.
- Care: evaluate the decorated garment using the agreed care procedure and acceptance criteria.
Keep a dated approved sample and close-up photos. State the agreed care conditions; do not substitute an unsupported promise that the decoration is “wash-proof.”
Compare quotations on the same basis
Request quotes using the same artwork size, number of decorated positions, colors, garment, construction and quantity. Ask which sampling, digitizing, patch-making or attachment steps are included. Neither chenille nor conventional embroidery has one fixed price for every design.
If the budget is too high, discuss changes to physical size, complexity or decorated positions. Confirm how each change affects the intended look before approving a cheaper alternative.
Chenille vs Embroidery FAQs
Is chenille the same as 3D puff embroidery?
No. A raised appearance does not make the techniques interchangeable. Ask the supplier to identify the proposed construction and show a physical sample rather than approving it by the word “3D.”
Can one logo combine chenille and regular embroidery?
Yes. Define the areas assigned to each technique and review their junctions, outlines and relative height on the sample.
Can chenille be used for a small chest logo?
It depends on the finished size and detail. A simple shape may be feasible where fine lettering is not. Approve the smallest required version before applying the design across a size range.
Which option lasts longer?
There is no reliable blanket answer from the technique name. Yarn or thread, construction, attachment, garment and care conditions all matter. Compare tested samples under the same agreed conditions.
Prepare your decoration brief
Send your logo file, intended dimensions, garment type and fabric, placement, preferred texture, colors and estimated quantity. Include a close-up of the effect you want, but distinguish an appearance reference from artwork you are authorized to reproduce.
See the embroidery development overview, or Send Your Logo and Placement Brief to discuss the next sampling step.